AnyPortrait > Manual > Export / Import Animation
Export / Import Animation
1.0.0
There are times when you create animations and apply the data to other characters.
You should be able to apply it to characters of different shapes and structures, such as applying to other apPortrait or applying to other mesh groups.
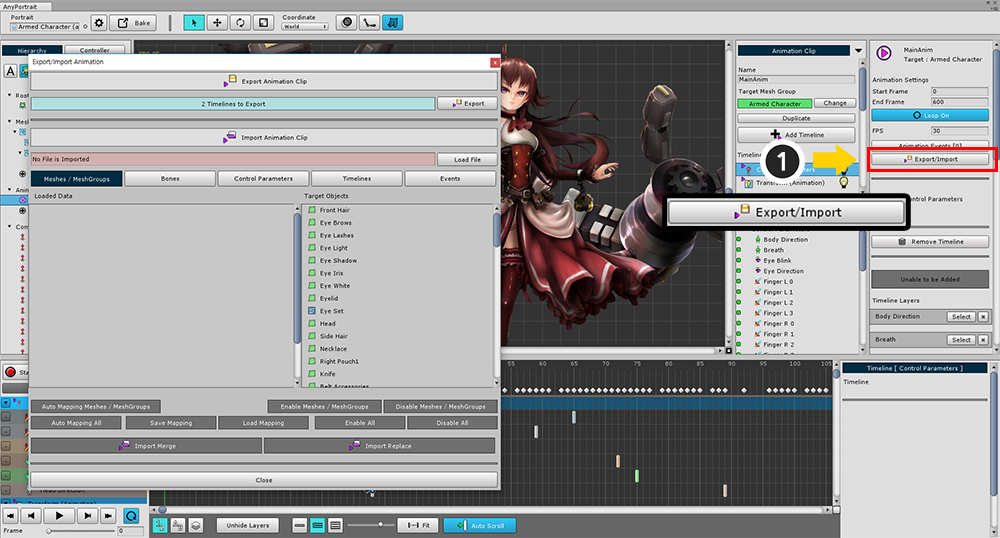
In the animation menu, you can open the dialog to export or import the animation information by (1) pressing the Export / Import button.
Export the animation to a file
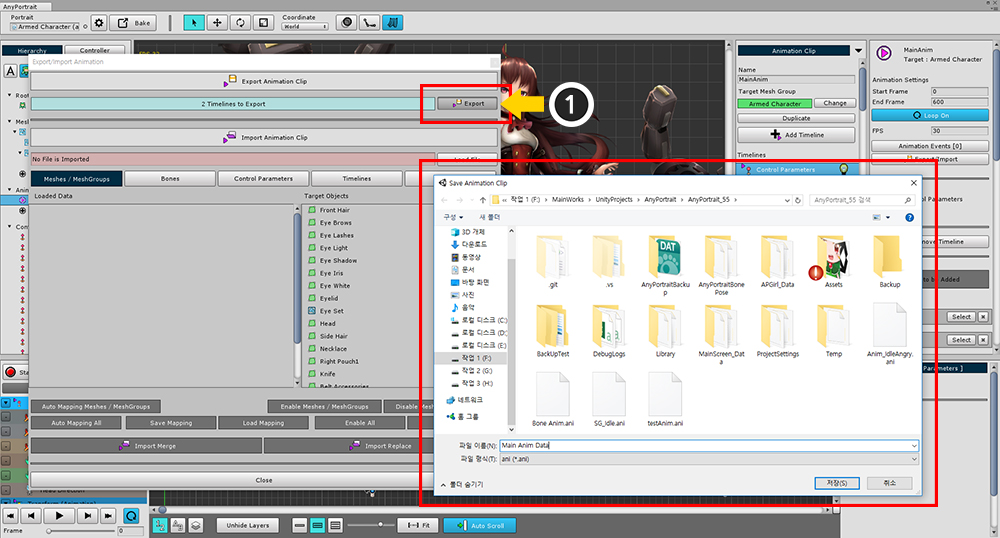
(1) Press the Export button and save the file.
Import an animation from the file
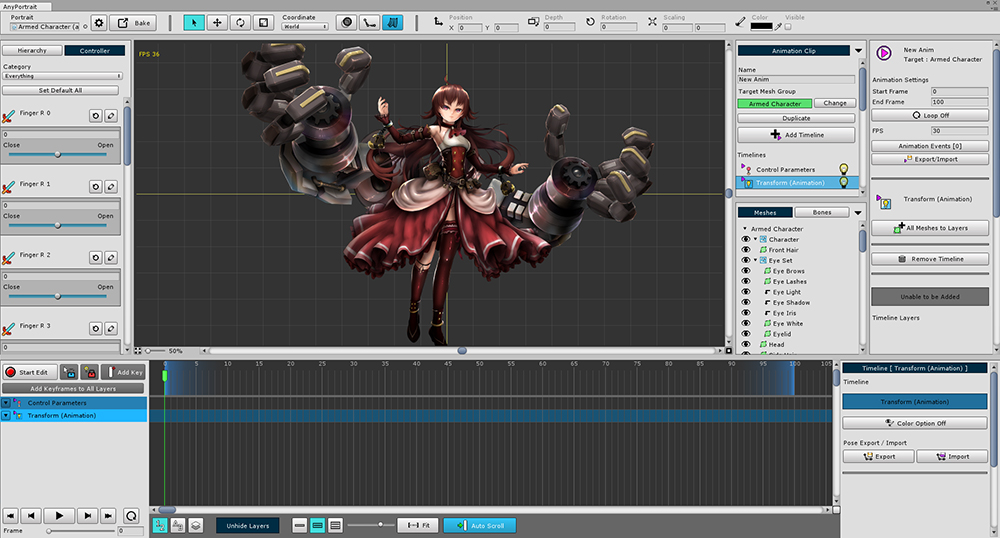
To apply the animation, I first created a temporary empty animation.
There is no keyframe, only the timeline where the data will be stored.
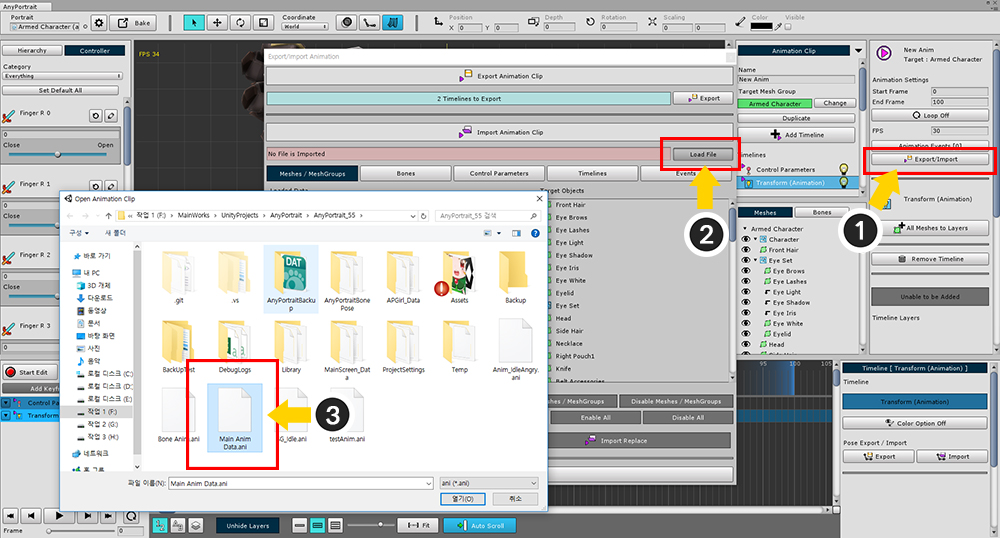
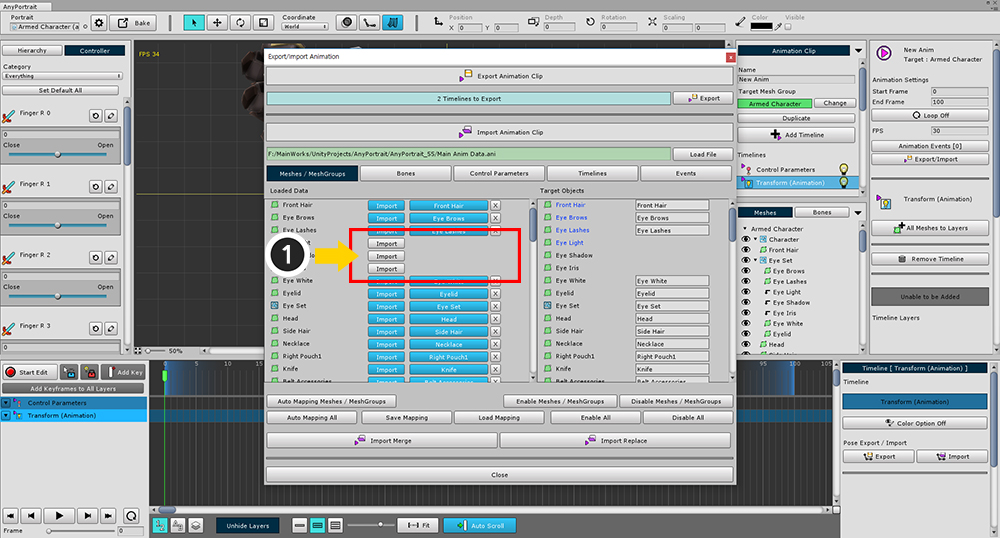
(1) Press the Export / Import button to open the dialog.
(2) Press the Load File button and (3) open the saved animation file.
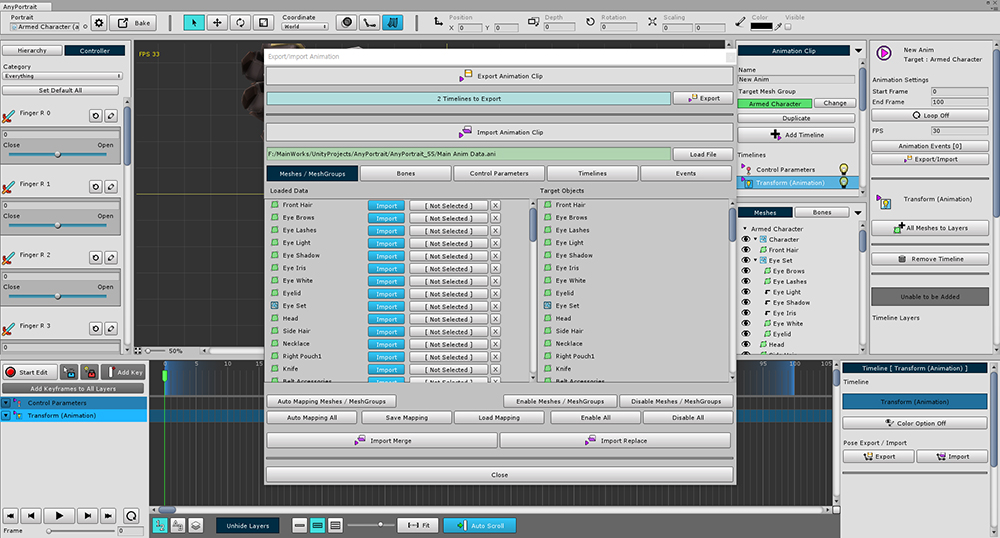
The saved animation information appears at the bottom.
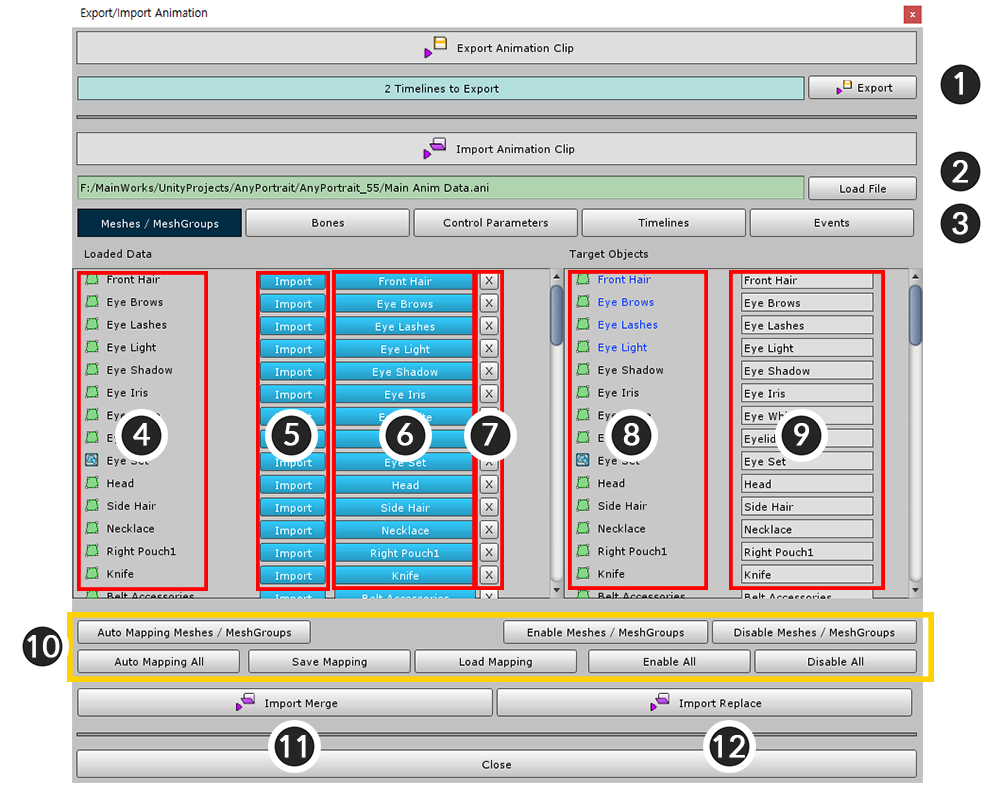
Mesh / Mesh Groups, Bones, Control Parameters, Timelines, and Animation Event information by tabs.
You can not import directly into this state.
"File Data" -> "Target to be applied" must be mapped to all tabs.
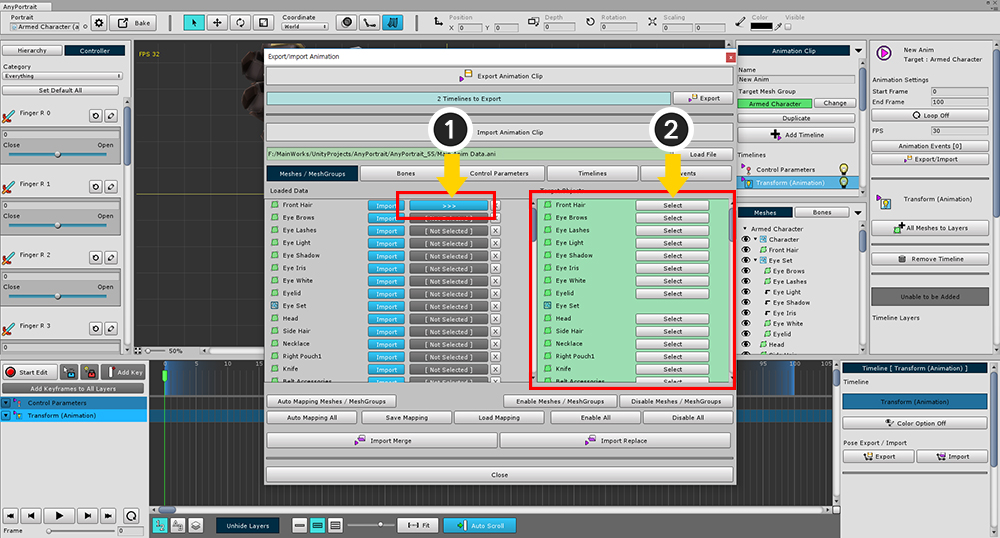
If you (1) press the [Not Selected] button of the target to be imported, the target that can be selected on the right is activated like the above screen.
(2) Press the Select button to apply the data to complete the mapping.
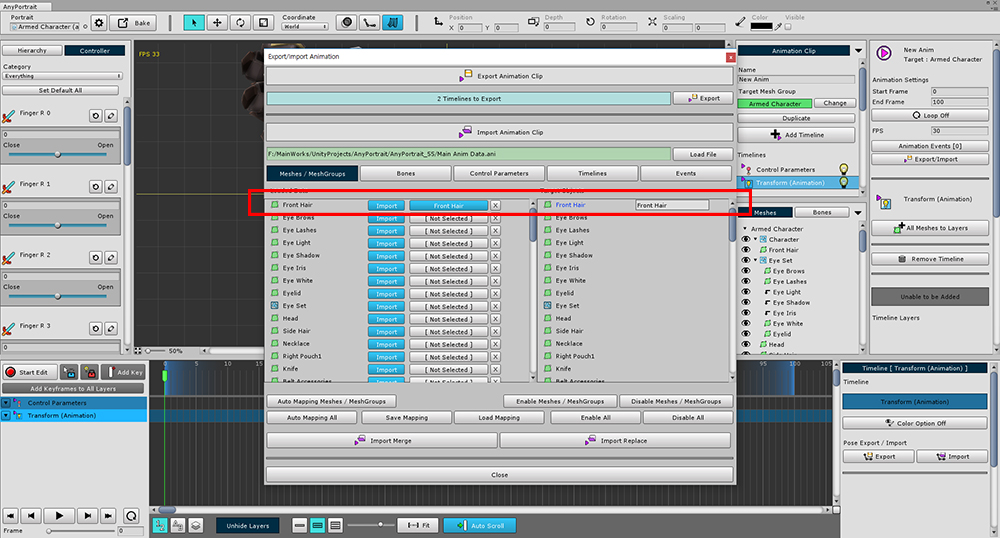
When the mapping is completed, both names will appear as shown in the above screen.
You need to repeat the process of mapping the data you want to import with the target to be imported in the same way.
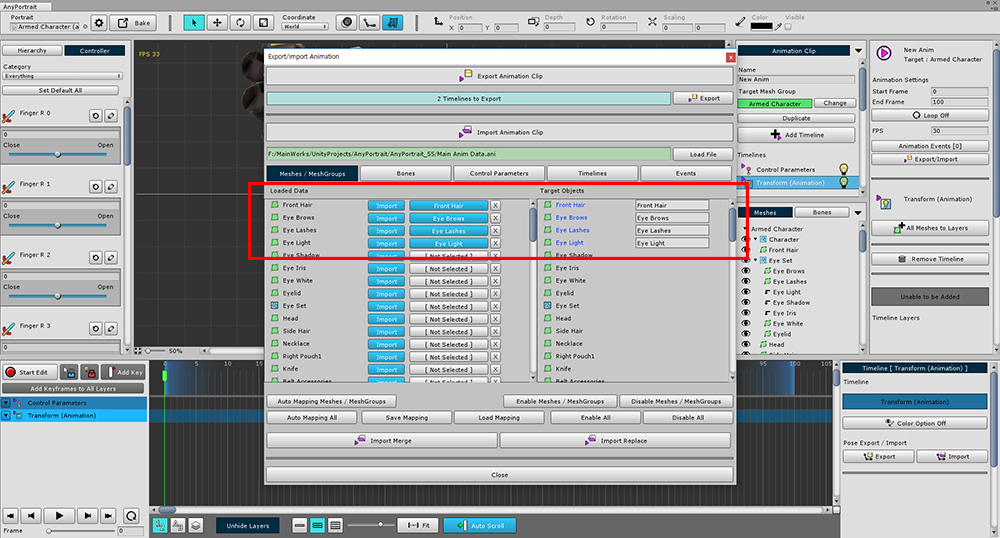
However, if the animation is complex and there are a lot of data and objects, this process can take a lot of time.
Therefore, it is convenient to use the function to connect quickly in batch.
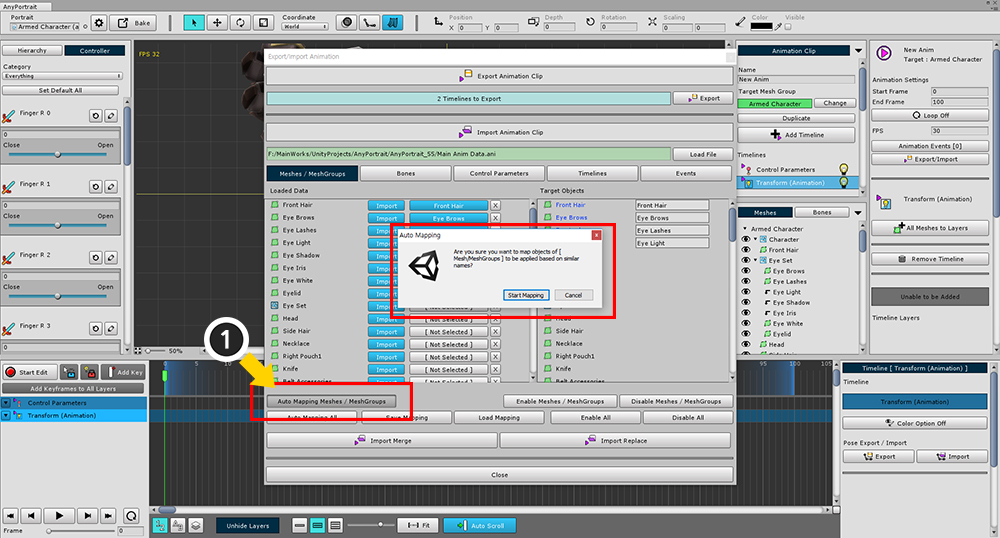
(1) Auto Mapping Meshes / MeshGroups (or the name of the current tab) button, you can connect in batch from the current tab.
It is a way to connect automatically in the most similar order by name.
All connected automatically to the name.
The mapping is only complete for the current tab, the mesh and the mesh group.
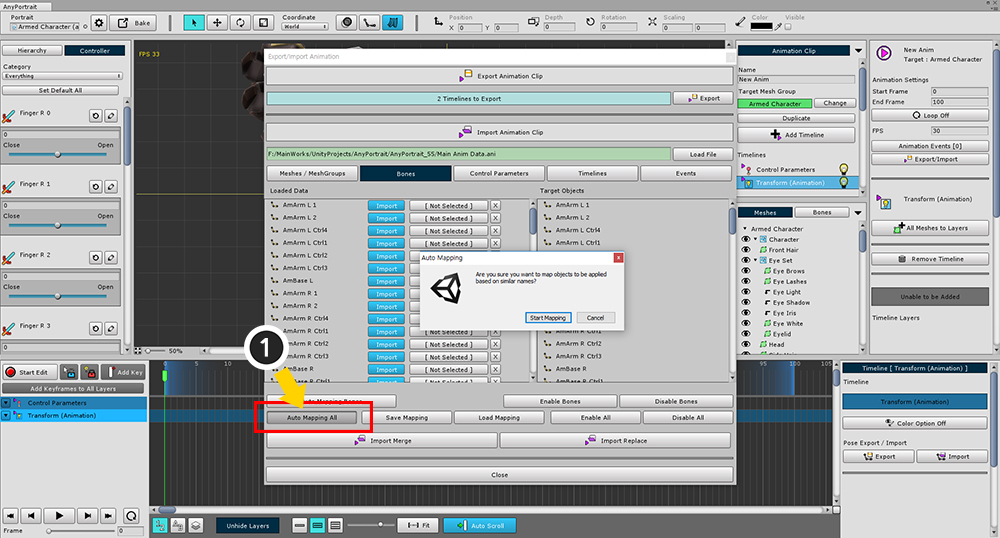
(1) Auto Mapping All button automatically tries to connect to all tabs.
This function does not always guarantee correct connection, so it is recommended to check carefully.
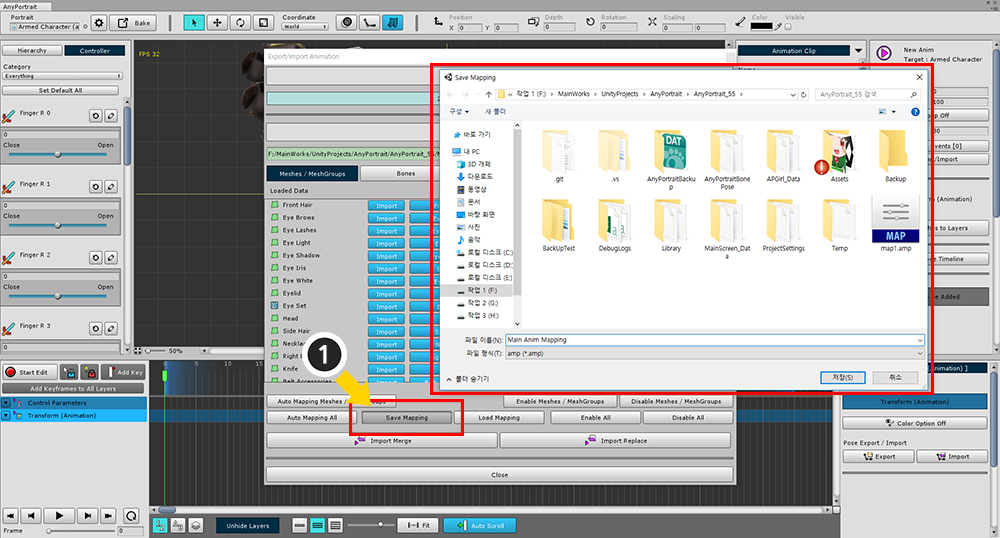
There is an automated feature, but there is no way to connect the file to the target each time.
You can save the mapping itself as a file and do your work efficiently.
You can save the mapping information by (1) pressing the Save Mapping button.
To use stored mapping data, press Load Mapping button.
You do not need to import all of the data if the structure is different or not needed.
If you (1) click the Import button to disable it, the corresponding data will not be imported.
(It will not import any unconnected data.)
The following is a summary of the above operations and the animation export / import screen.
1. Export : Export animation information to a file.
2. Load File : Open the file to import animation information from a file.
3. Meshes/MeshGroups, Bones, Control Parameters, Timelines, Events : Separate tabs for each type in the process of linking files and targets.
4. Name of the file item : The name of each item of data stored in the file. Icons are displayed according to the type.
5. Import button for file item : Specify whether to include the item saved as file in import.
6. Mapped target : The target mapped with the file item. Press the button to start the connection.
7. Disconnect Button : Disconnect the file item and mapped target.
8. Name of the target item : The object that exists in the currently open animation and mesh group.
9. Mapped file item : the name of the file item appears when connected.
10. Batch processing functions
Auto Mapping (All) : Automatically connects by name.
Save Mapping / Load Mapping : Save or load the mapping data.
Enable / Disable (All) : Enables or disables the import setting for all items.
11. Import Merge : Import data from file into animation. Keep existing data in case of conflict with existing data.
12. Import Replace : Import data from file into animation. Overwrite existing data with data from file.
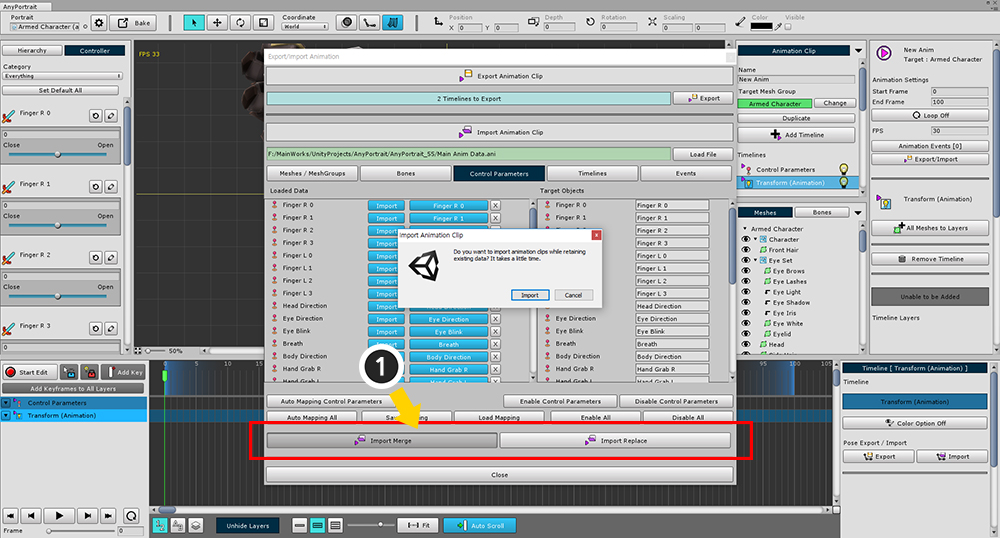
When you are done, click the Import Merge or Import Replace button to apply.
If you want to keep the existing data, click Merge, or Replace if you want to overwrite it.
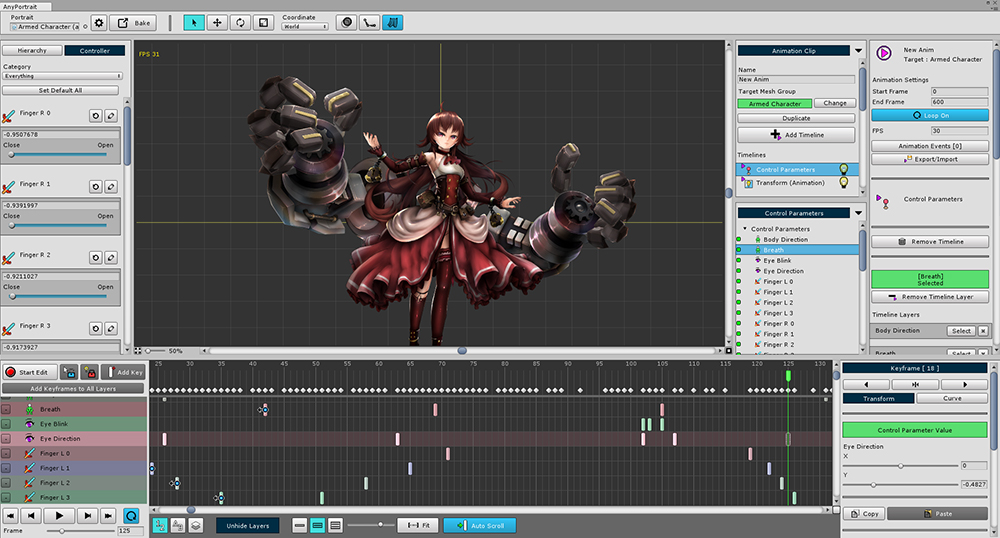
You can see that the animation data has been successfully applied.